
Nuness by Nureed Saeed
Welcome to my journal where I talk design and life with authenticity. Expect honest reflections and practical tips, and a reminder that we’re all doing the best we can with what we have. Let’s have some fun on this journey!

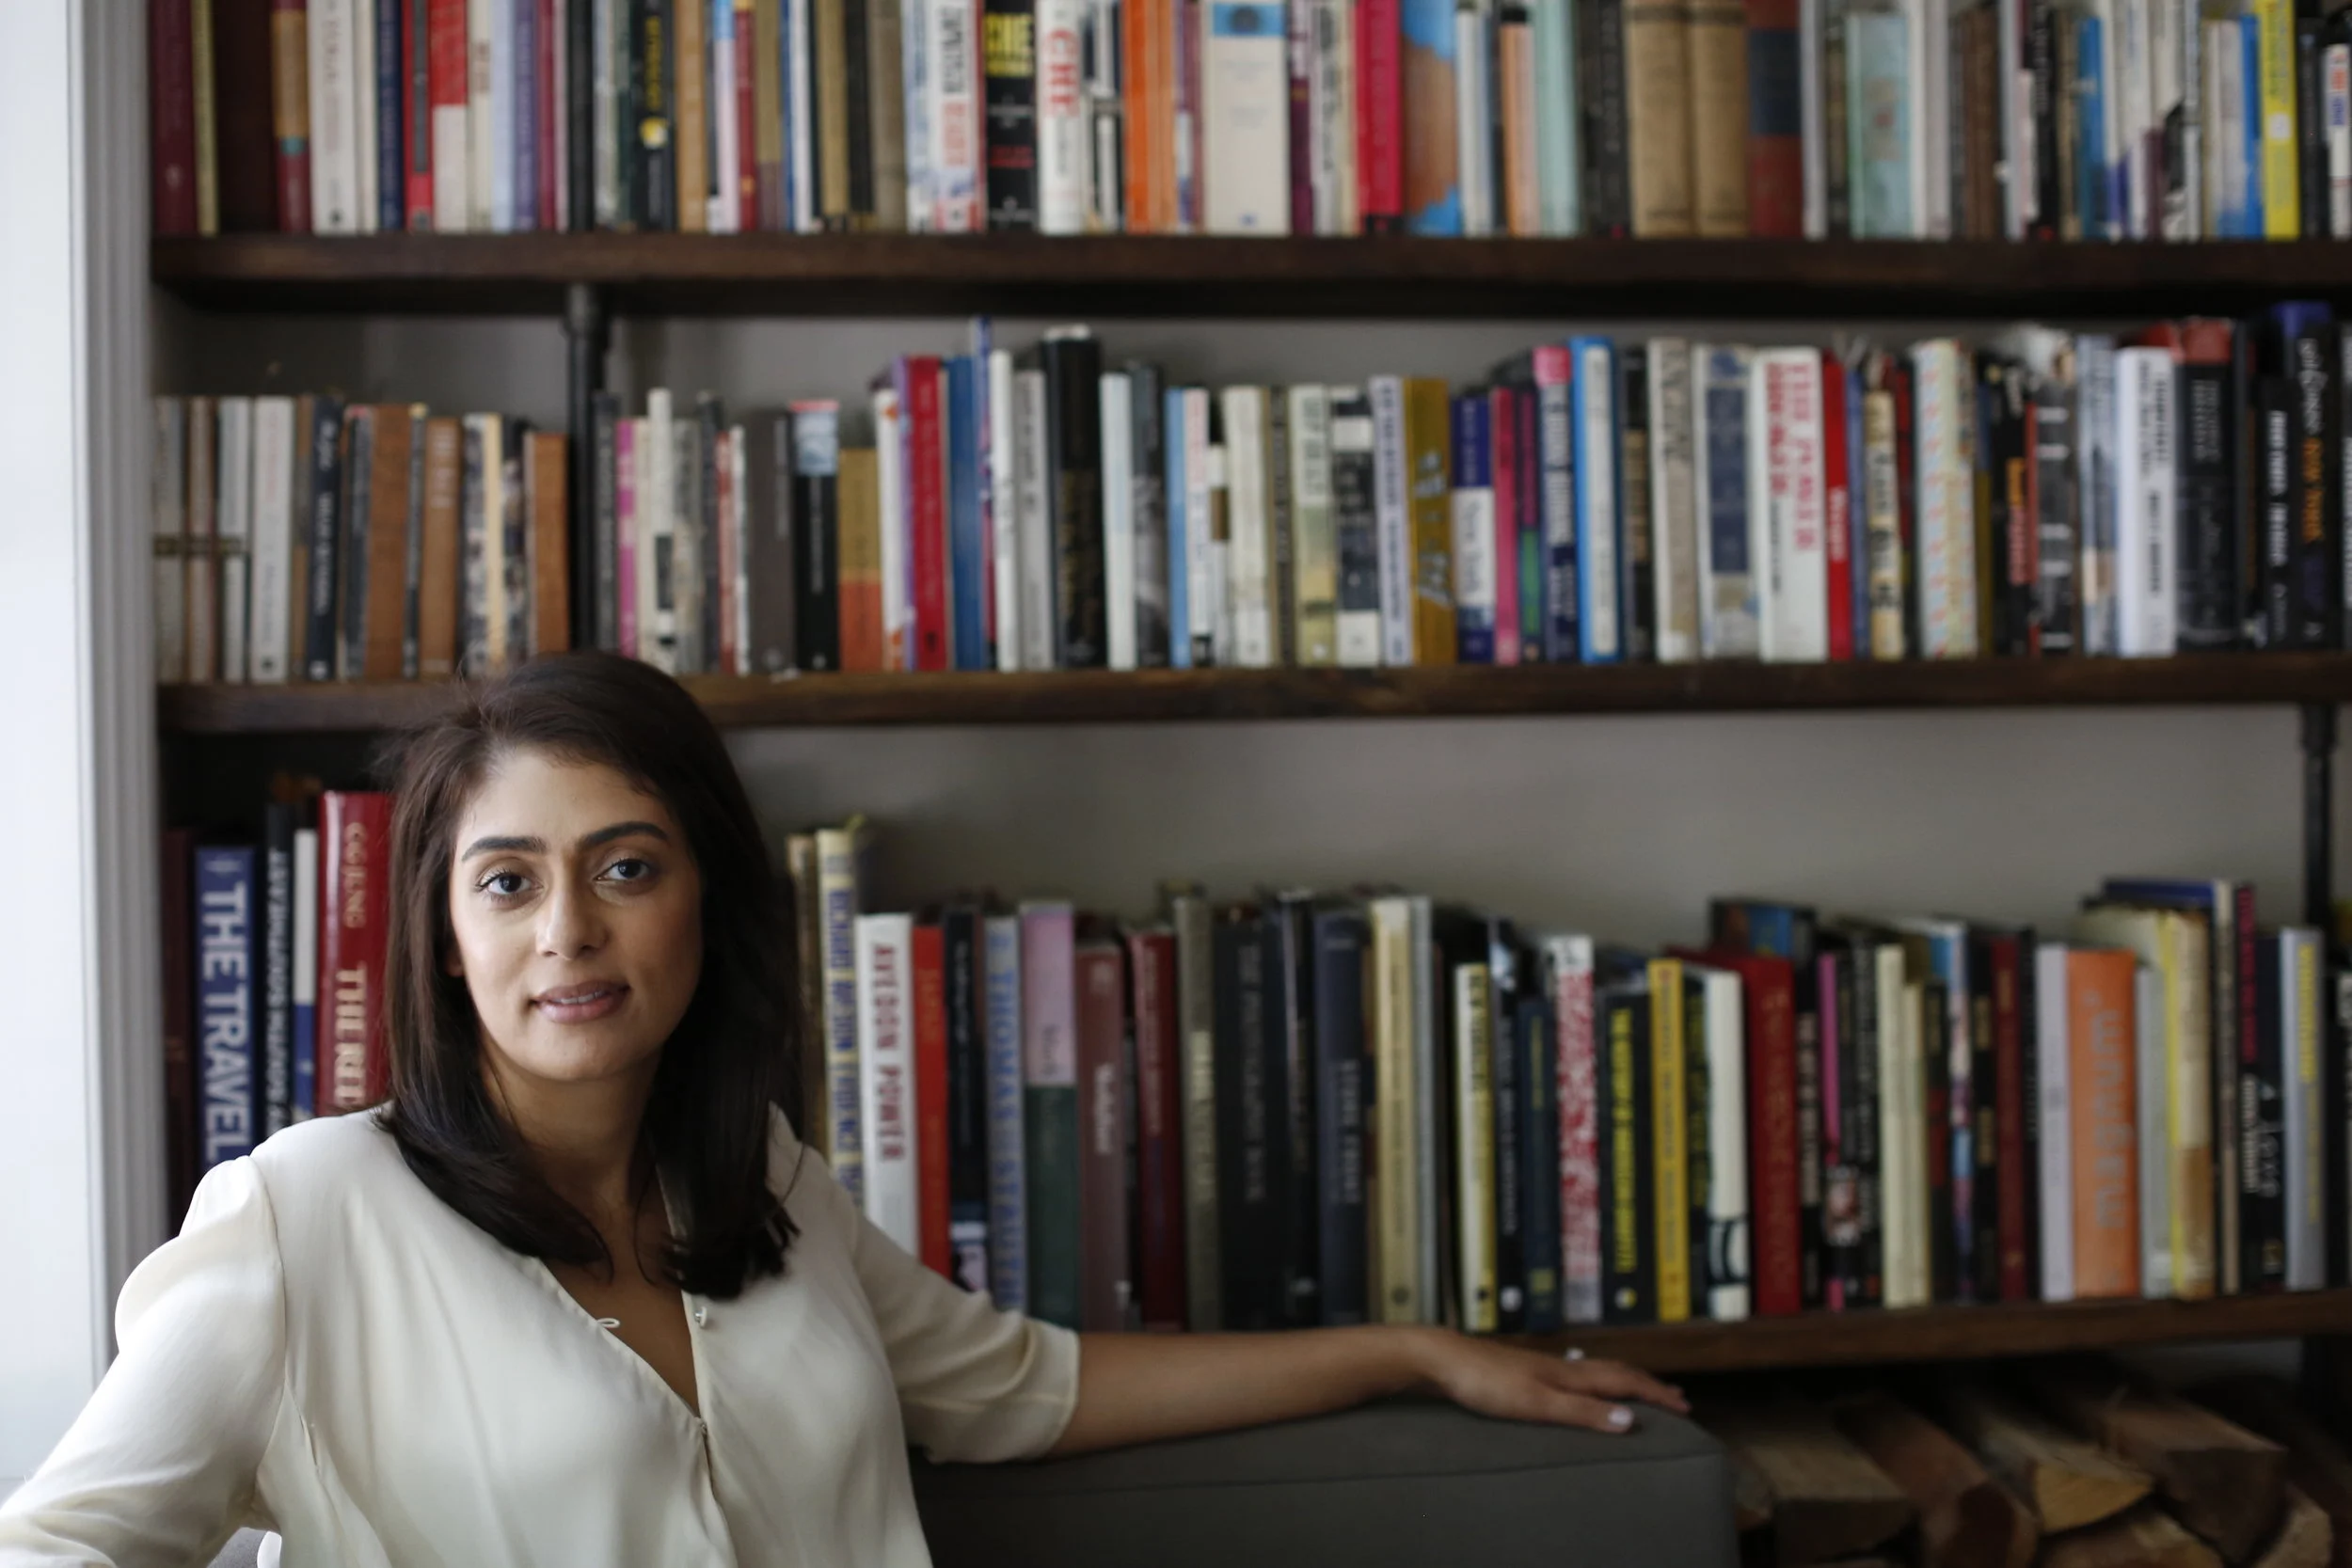
Why Human Interior Designers Still Matter in the Age of AI
Nu Interiors founder Nureed Saeed explores AI’s promise and pitfalls in interior design and why culturally intelligent, human-led design cannot be replaced.
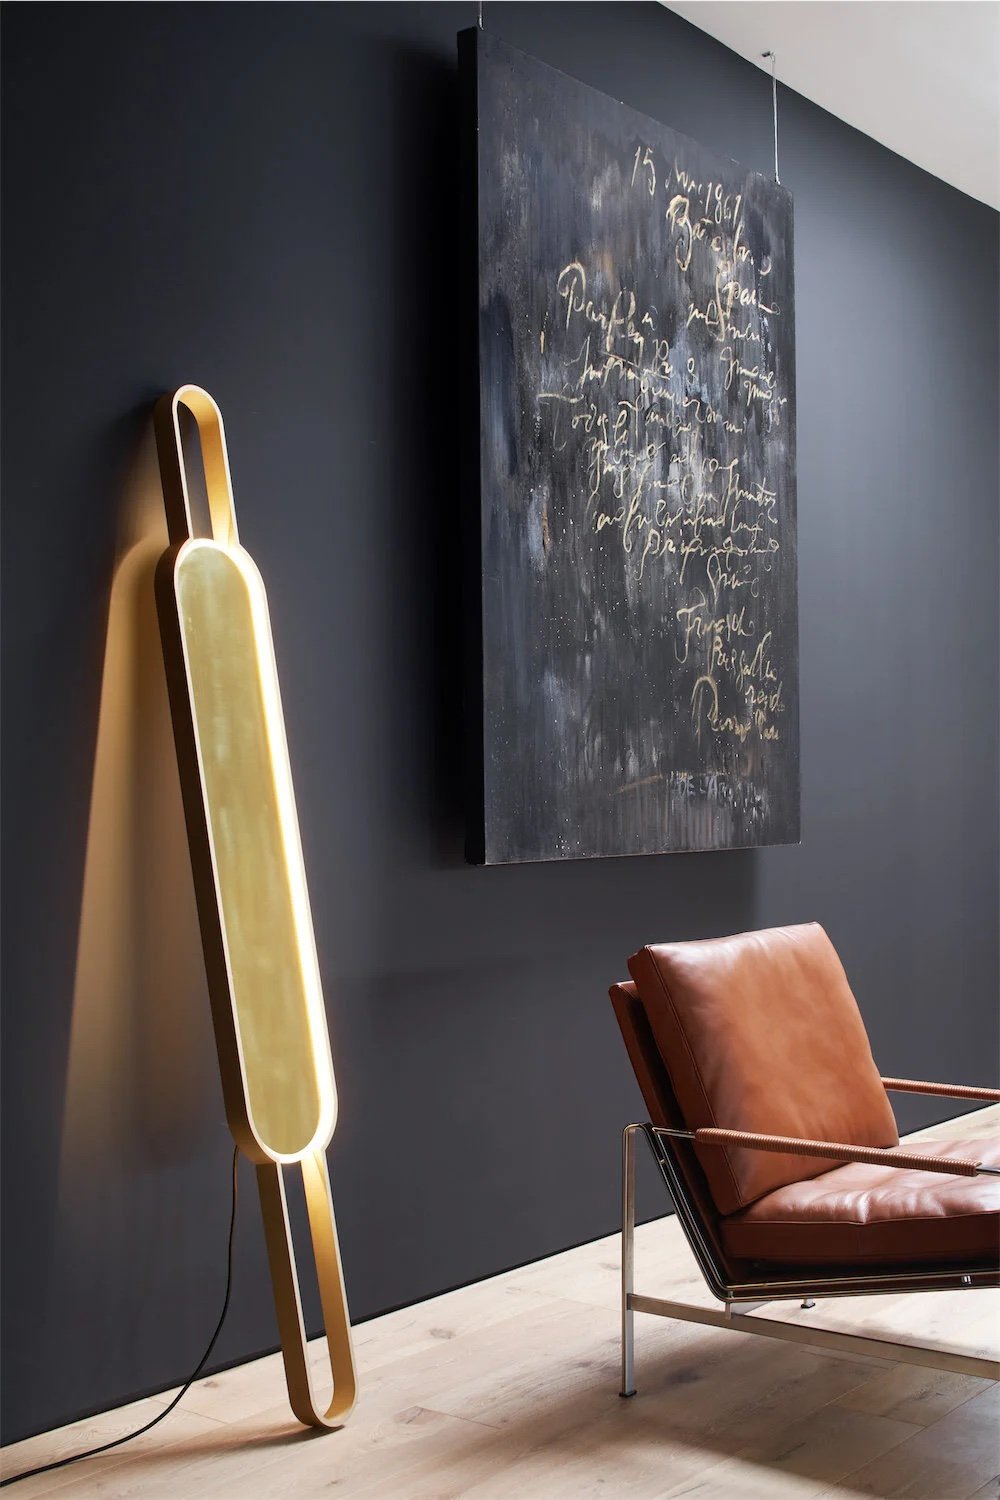
Top Product Picks from October 2025 HPMKT
Our curation of October’s High Point Market highlights, showcasing beautifully made pieces where craftsmanship, innovation, and livable luxury intersect.

Inspired Design: A Kitchen Story with Wolf
A kitchen is more than cabinets and finishes—it's a stage for life’s everyday moments, and this inspired design proves it.

WHY CHOOSING A BIDET SEAT IS A MUST-HAVE ITEM FOR YOUR BATHROOM RENOVATION
Bidets aren’t just a luxury—they’re eco-friendly, hygienic, and a game-changer for modern bathrooms.

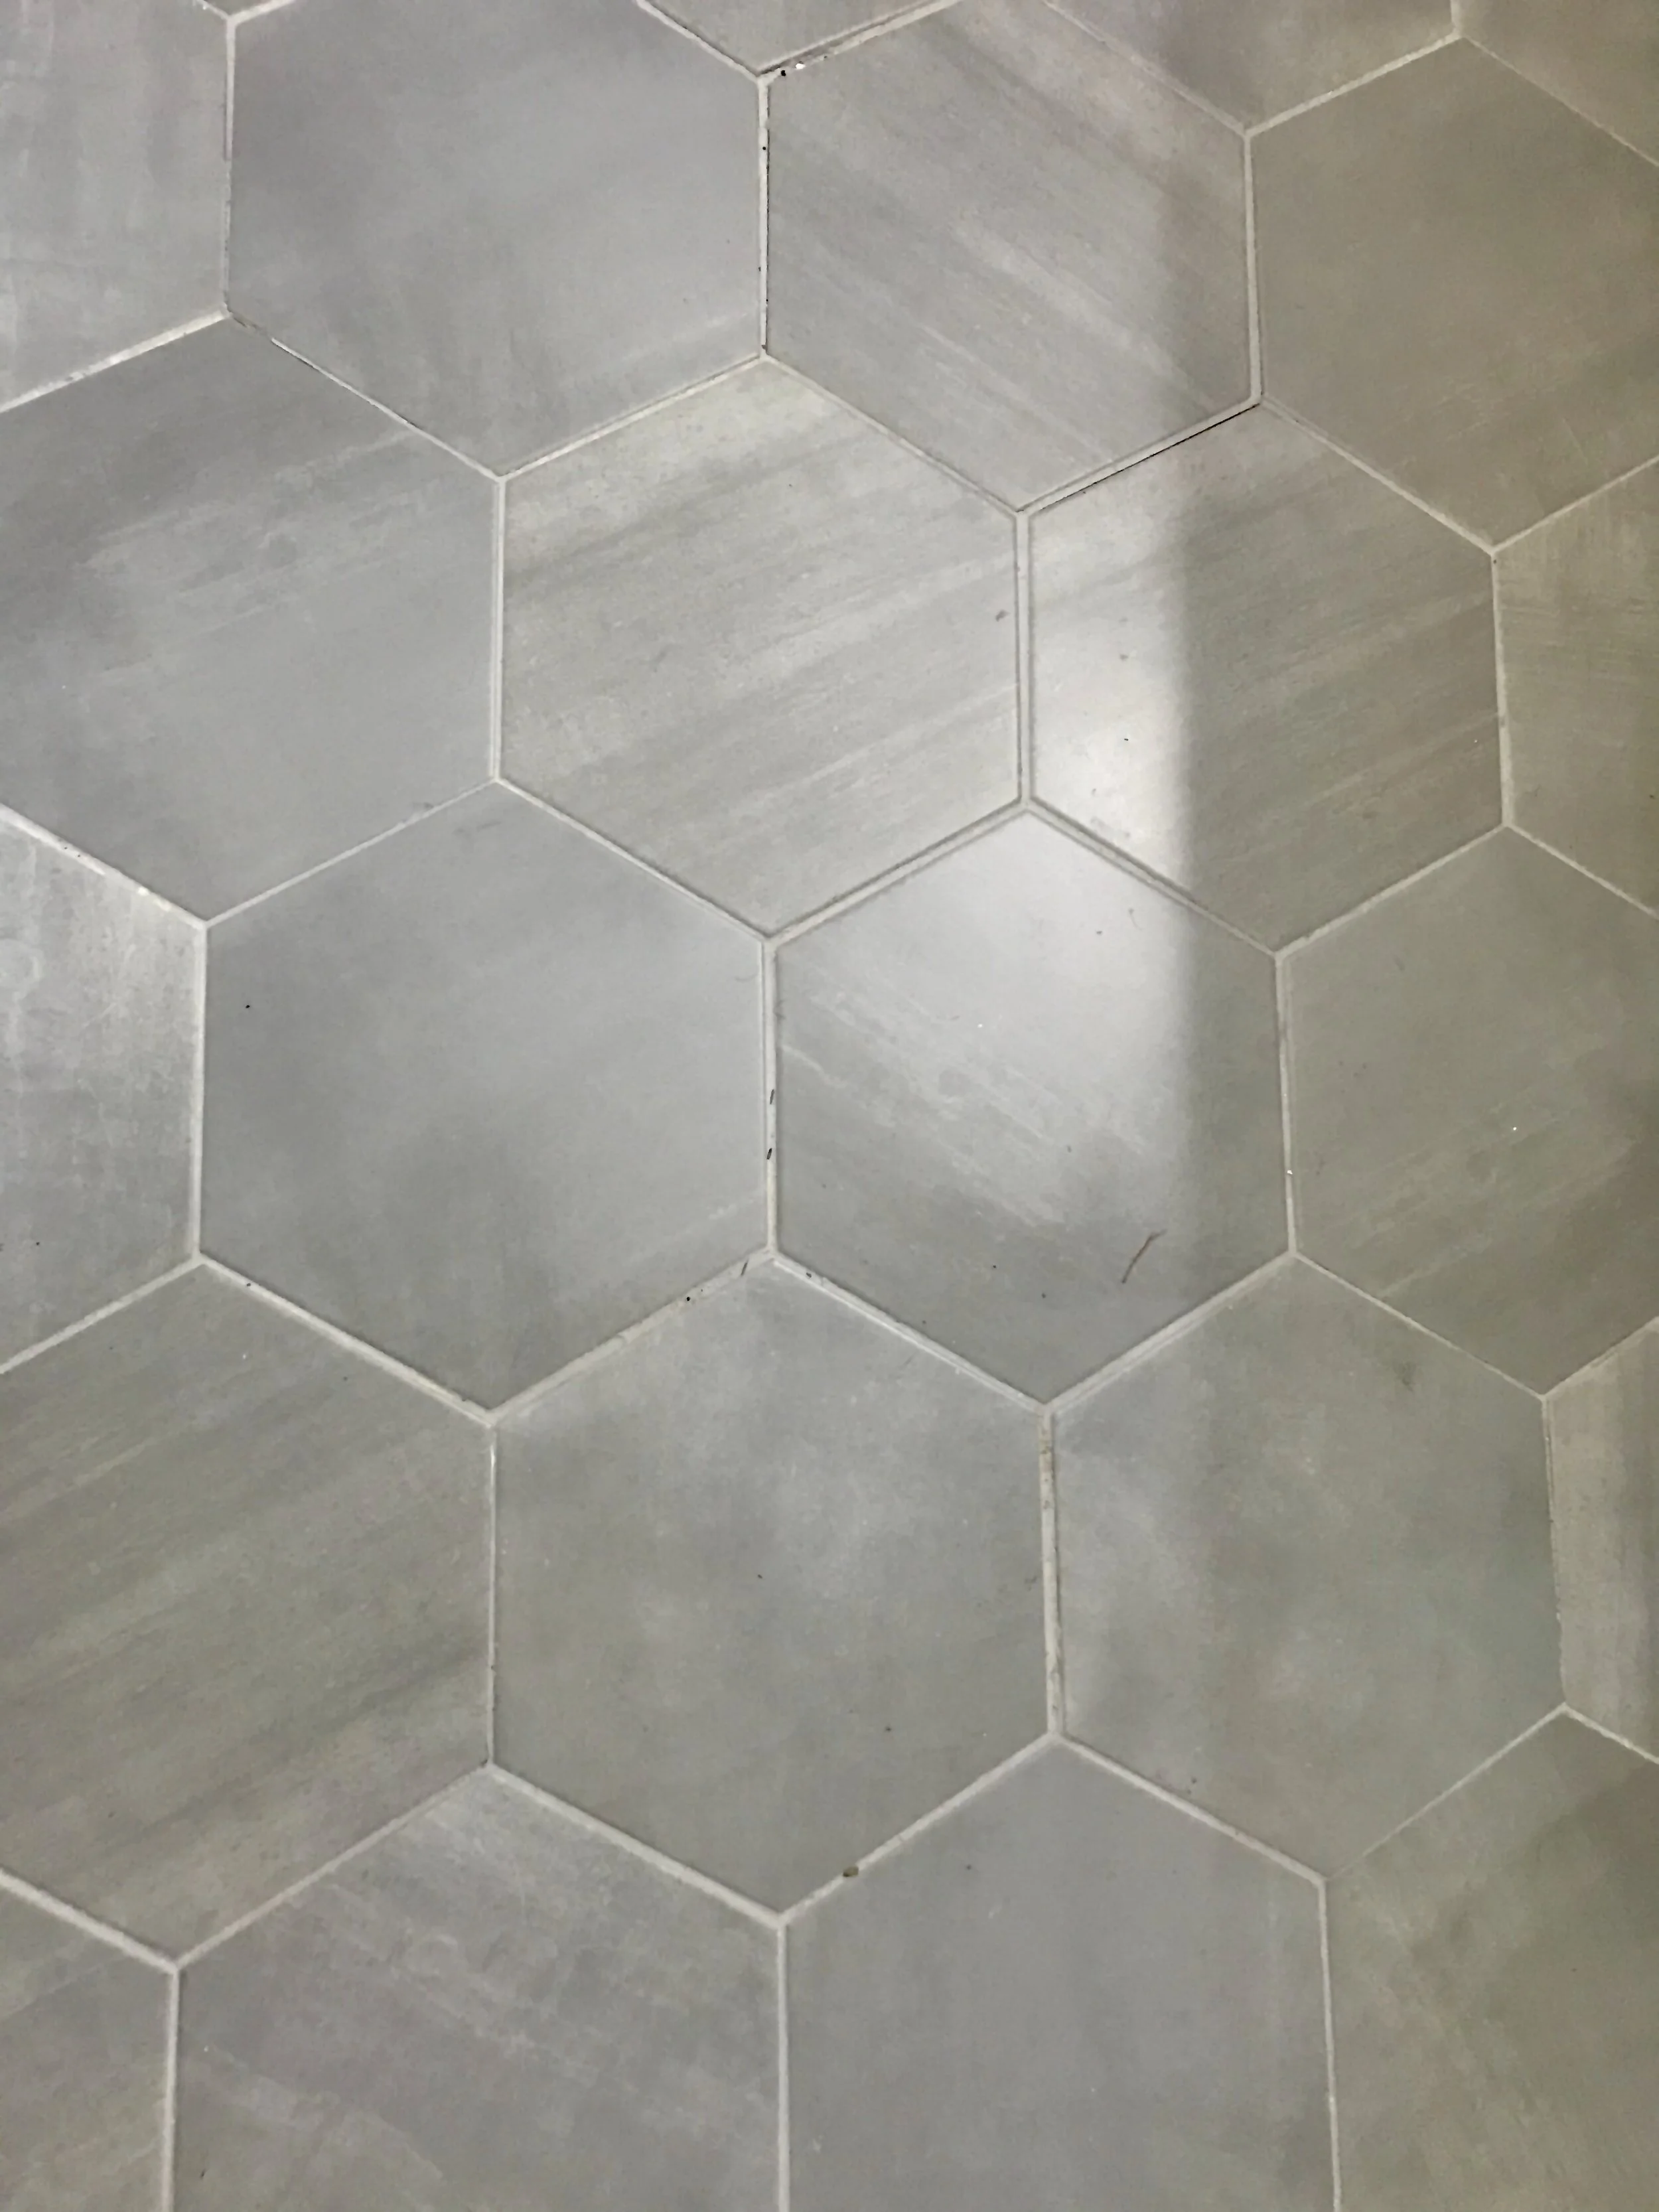
Which Tile is Best for Your Kitchen?
Ready to upgrade your kitchen? Explore the best tile options for floors and backsplashes to create a space that’s beautiful and built to last.
Things to Consider When Designing a Kitchen
A well-planned kitchen design makes all the difference. Explore key factors to balance beauty, function, and budget.
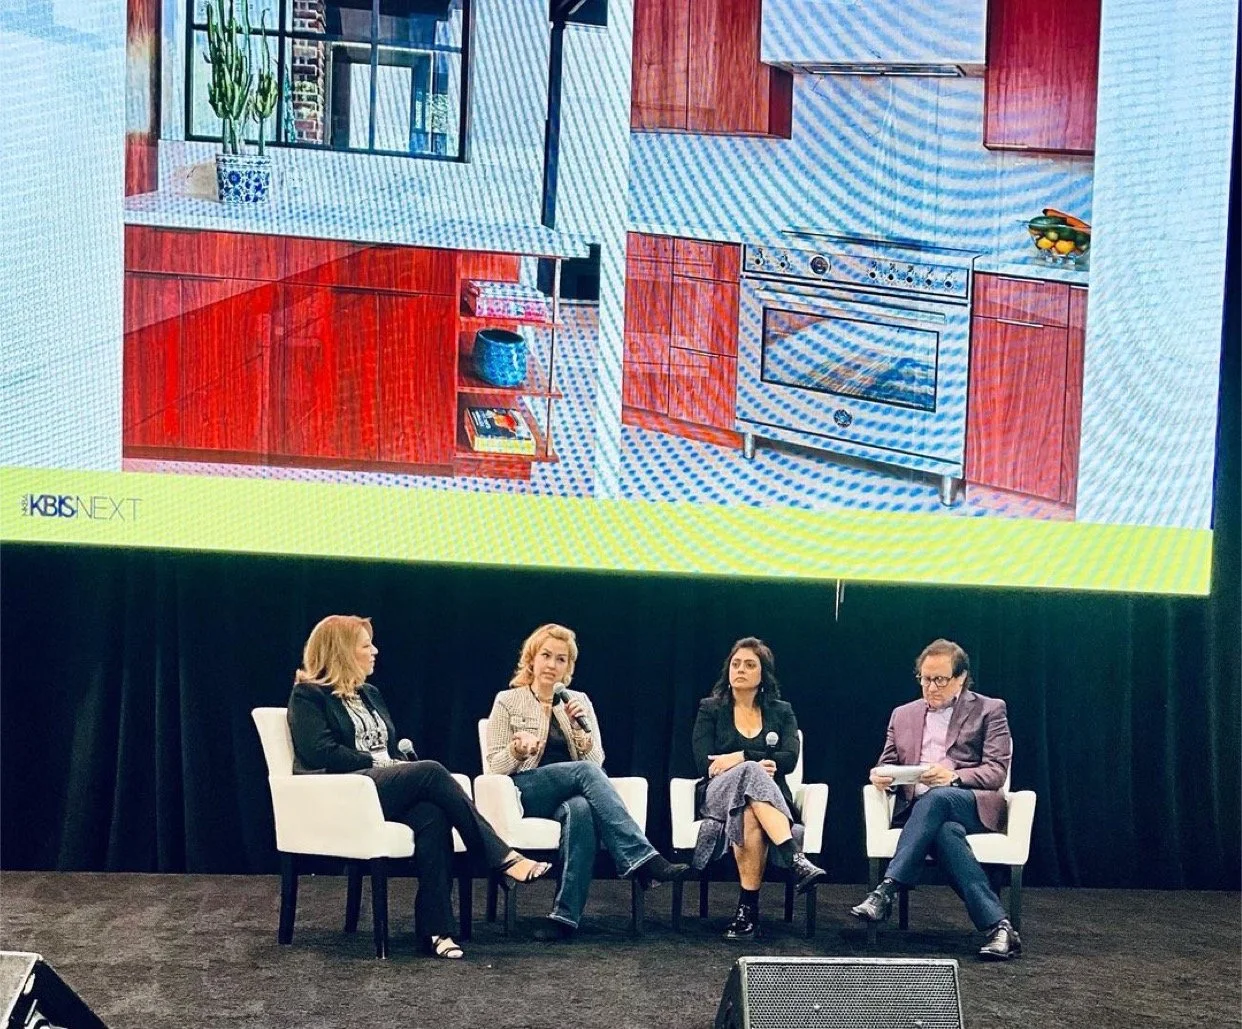
The path to growth is being uncomfortable
At KBIS 2023, Nureed spoke on why real growth happens when we challenge norms, push boundaries, and live in the uncomfortable.
DIY Diaries: Tiling the Floor of My Guest Bathroom
Thinking of tiling yourself? Learn what worked, what didn’t, and why practice (and patience) make all the difference.

Home Tours: Nureed of Nu Interiors’ California Kitchen
Take a peek inside Nureed’s California kitchen, where smart planning, creative problem-solving, and personal touches came together to transform a 1950s space.

15 EASY WAYS TO BEAUTIFY YOUR BATHROOM WITHOUT A RENOVATION
From vanities to tubs, these easy styling tricks will instantly elevate your bathroom.
Demystifying the Perfectly Decorated Bookshelf
Styling shelves doesn’t have to be intimidating—these simple rules make decorating a bookshelf effortless.

A Mod Moment
A fresh look at black-and-white design inspired by 1960s mod culture, plus a few favorite finds that bring the style home.

Serenity & Peace
Simple updates can bring calm into your home. Discover easy ways to create moments of peace in your entry, bath, and bedroom.

Dreaming of Warmer Days
Bring the warmth of the Southwest home with eclectic decor, rich textures, and vibrant color stories.

A Blog Is Born
On Thanksgiving Day, Nu Interiors launched its blog, celebrating design where old meets “nu,” starting with antiques and inspiration from Milford and Barryville.