I love tile. Obsessed with it actually. If you follow me instagram, I post a fair amount of tile photos. I visit tile factories like they are a museum. It’s art in another form to me. Jewels of a different substance. So when I had the chance, I wanted to learn how to install this art form myself. The first time I tiled, it was the walls of my powder room in NJ. I chose an arabesque pattern tile. My partner in crime in NJ, aka my contractor Carlos, did all of the tiling himself for our projects. I always handed him a challenge as he liked to say. So when I showed him what I wanted to do, he laughed and said “Why couldn’t you pick subway tile for your first time? Do you know hard hard it to cut that shape?” So with a few tips from Carlos, I went ahead and tiled my powder room.
My 1st piece of advice: Listen to Carlos. For your first time, pick a tile that follows a simple geometric pattern (i.e. a square or a rectangle). It makes it easier to match patterns and easier to cut the tiles. Also if choosing a patterned tile, try to pick one where the matching is easy or where randomness is welcome so if you make a mistake, it won’t matter.
Next I tiled the wall of my mudroom in NJ. This time I would choose a subway tile, beveled for a little difficulty level, but at least it’s a consistent easy shape. I stacked it vs. staggering to make it easier to lay out. Carlos came by and told me I did a pretty good job. I felt triumphant.
So when it came to this guest bathroom, I thought: This is not my first time tiling, I can do this. I psyched myself up. I did not call Carlos in NJ from CA. I said to myself “I’m gonna do this.”

Guest Bathroom BEFORE
I had chosen a 9” hexagon in porcelain in a solid color. Not the most difficult shape, but it still required me to lean in on my high school geometry when cutting.
2nd Piece of advice: Invest in the tools to do this right.
1) Rent or buy a wetsaw: I have an inexpensive wetsaw I bought from the Home Depot for $150 and it does the trick.
2) Buy spare blades for the saw: Blades can wear down fast and you will see your tile chip if you don’t have a sharp blade.
3) Get the safety gear/comfort gear: If laying floor tile or cutting tile on the ground vs. a table, knee pads are a must. Rubber gloves and safety goggles are also important when cutting. (Carlos wears neither of these when tiling but he also appears to be made of steel, so I will ignore his advice on this one.)
4) Pick the right mortar to adhere your tile: They have a powder thin set that you will need to mix to the right consistency. They also have a pre-mixed thin set. Most contractors prefer the kind you mix, not the pre-mix. I am a novice so I have used the pre-mixed kind for wall and floor applications and found as long as it’s a small format tile (under 10”) and you spread it consistently it will work.
5) Trowels – Why so many? U-Notch vs. V-Notch vs. Squared? Different sizes? It can be overwhelming. Basic rule of thumb is you use what the tile recommends. So when you buy your tile, it should say for example “ ¼” square notch trowel recommended”. If it doesn’t, ask the person at the tile store. They should know.
6) Grout – Again there is the kind you mix and the kind that is pre-mixed. Again most contractors prefer the kind you mix. Here I agree with them. I have found the pre-mixed kind to have a lot of shrinkage in it, which means after it dried I had to go back again and fill in.
7) Float – You will need this to apply the grout.
8) Sponge and bucket – You will need this to clean the adhesive off of the floor before you grout and then again to clean the excess grout.
9) Spacers – Absolutely needed. This is your call on how much space you want between each tile. I like less, but again some tiles need more space and specifically say so.
10) Level
11) Pencil
12) Measuring tape
13) If you are good at geometry, cuts won’t be too hard for you to map out. If this feels daunting: I recommend buying a locking profile and contour gauge. It maps out your cuts for you.
Now we are ready to tile! Wait not yet.
3rd piece of advice: Lay out your tiles before you actually make any cuts. Map it all out. Make sure you are comfortable with how it looks and where the cuts will land. Where you start depends on your space. So taking the time to map will create a better end product. On a floor try to make it so cuts end up in places where if they don’t look perfect you can hide them with trim, or a perfectly placed trash can.
4th piece of advice: Take your time. And maybe buy a little extra tile that you can practice some cuts on before you start.
5th piece of advice: Have fun. It’s art. It doesn’t have to be perfect. And if you totally mess up, you can lift it up and do it over (or cover it up with bath mats like me!).
It took me ½ a day to demo my bathroom, 1 day to tile and an hour or so to grout. So far I have had the painter come by and the electrician to help me complete the finishing touches and both of them were very impressed with my tiling skills. My family also is very happy with the transformation. BUT most importantly is how empowered and accomplished I feel. Overall, I will consider this a successful DIY project. On to the next project: tiling my mudroom/hallway.
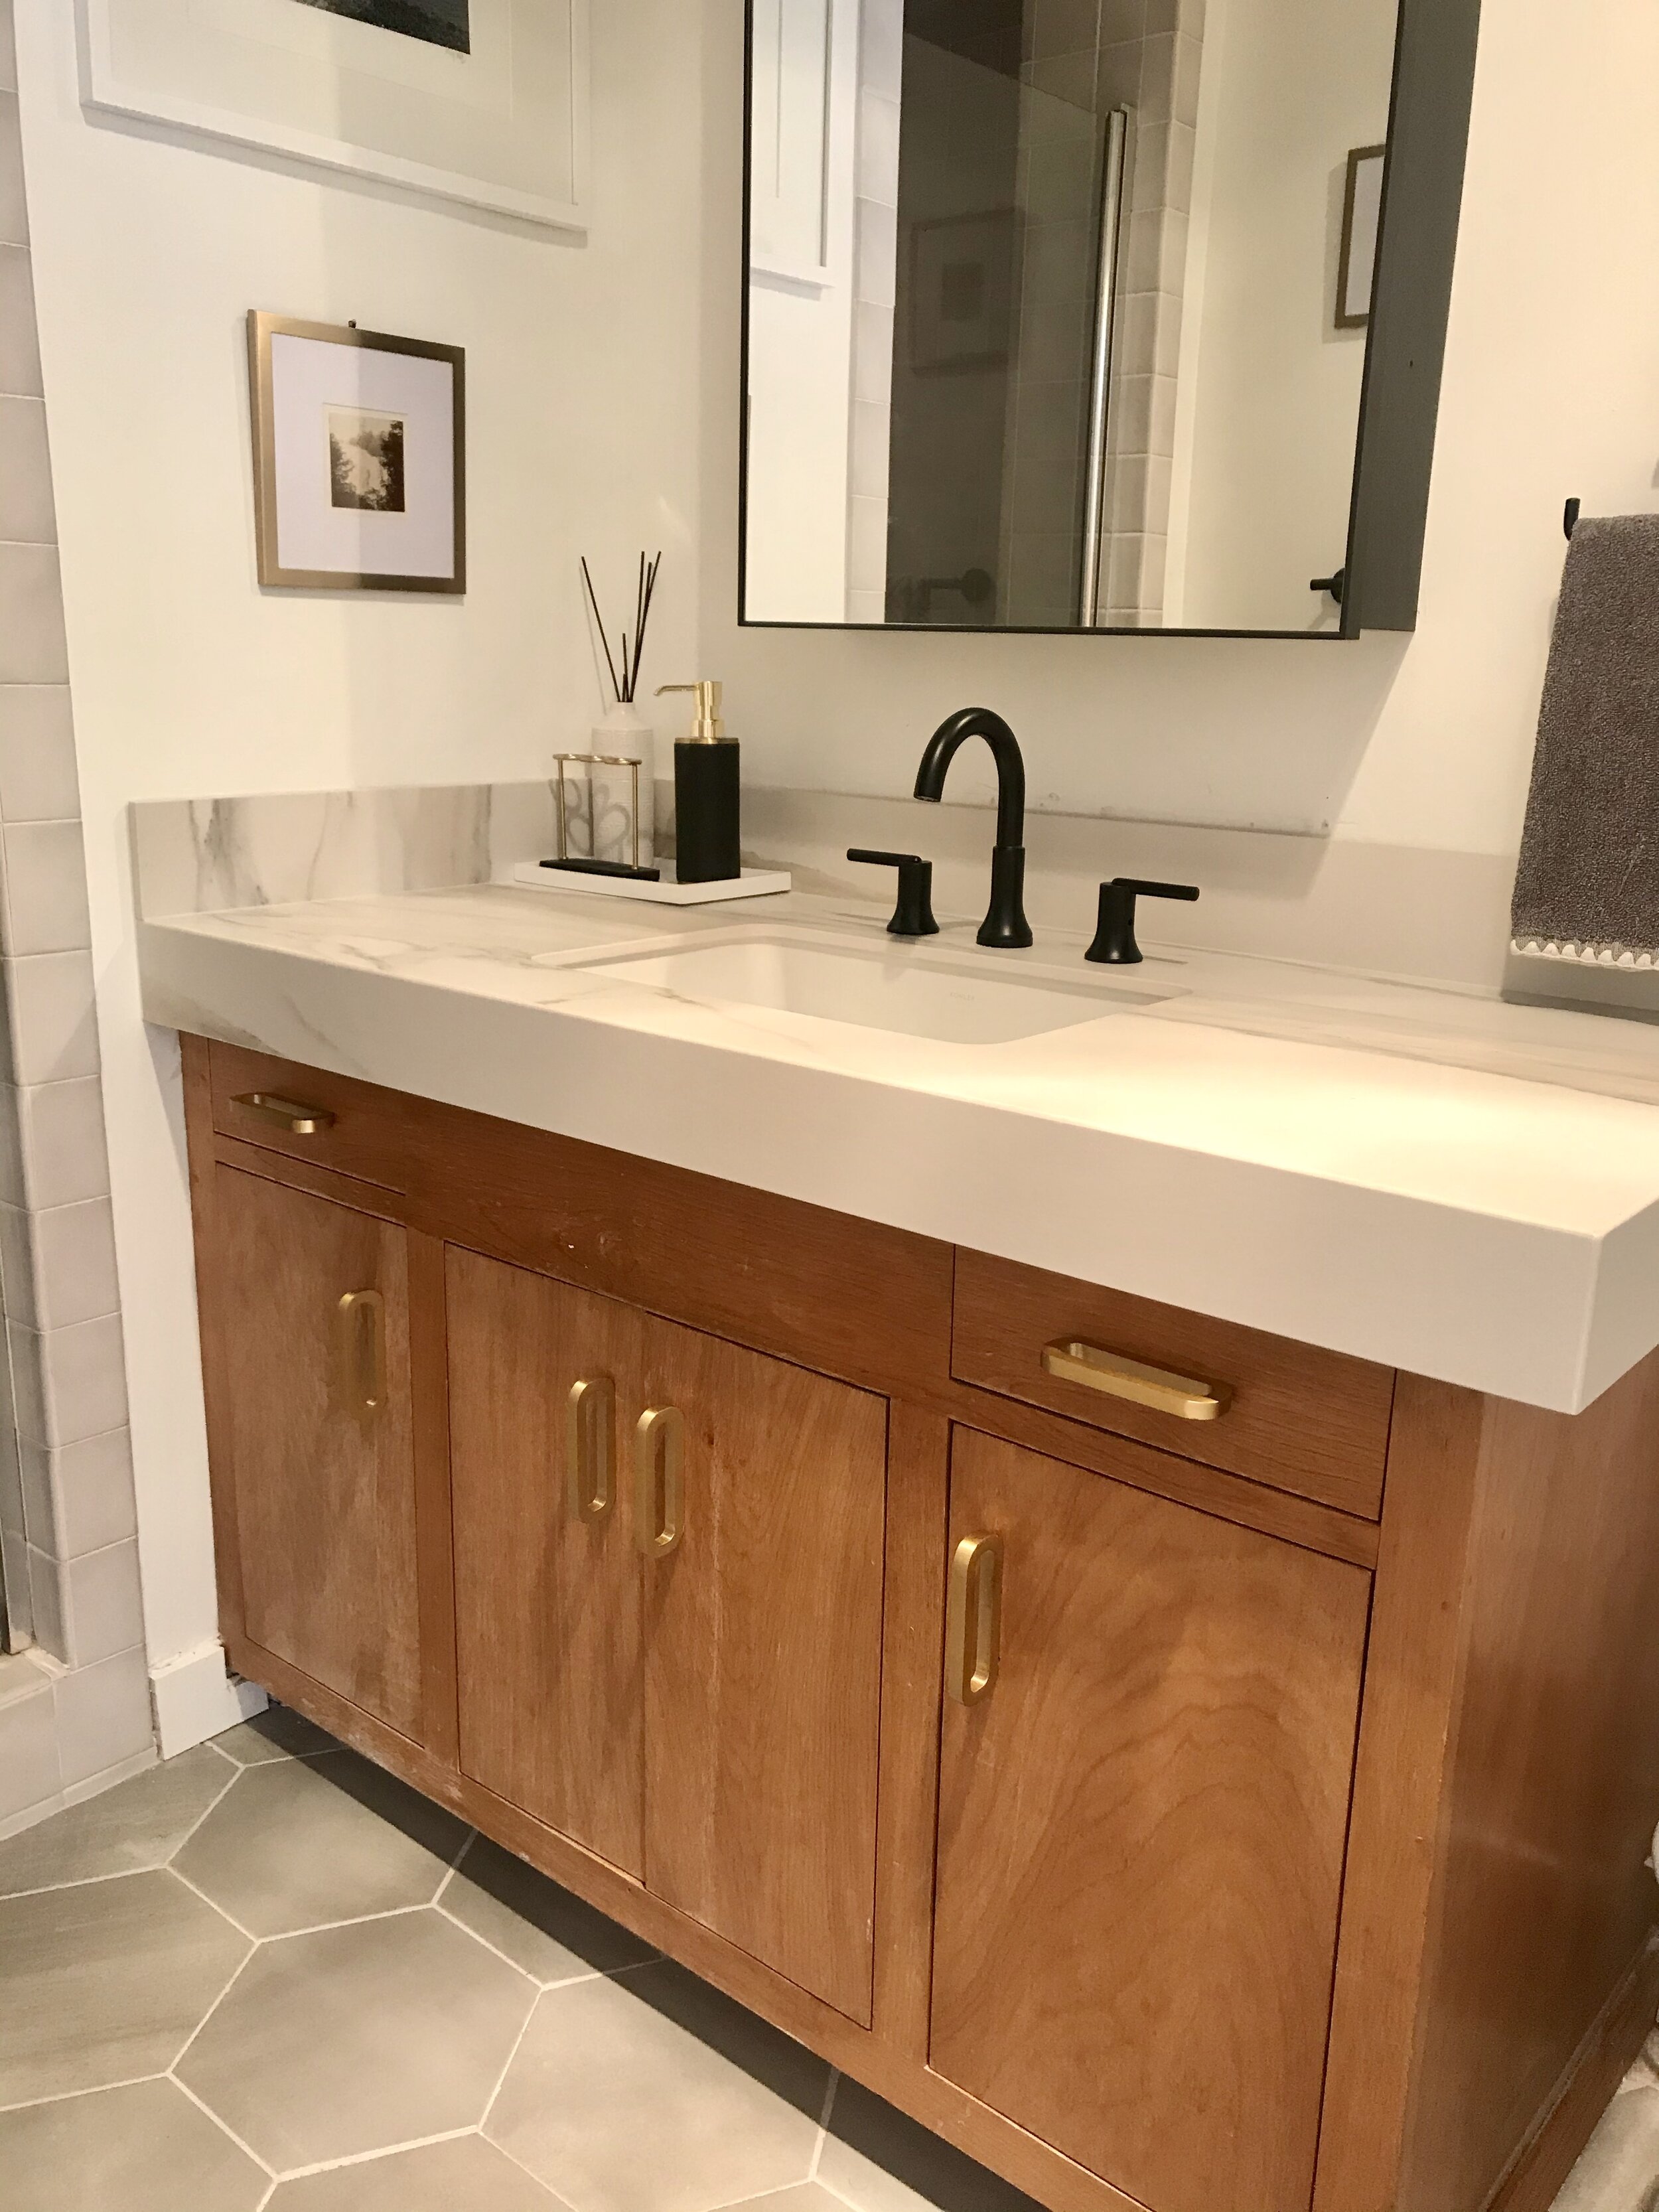
Guest Bathroom AFTER
If you need help deciding on what tile to choose, or have more questions about how to tile, send me a DM on instagram @nuinteriors or send me an email to nureed@nuinteriors.net
Happy tiling!